   |
|
|
|
Ute Bed® Operation and Maintenance Ute Tray® & Ute Bed® Handles come in two styles. The earlier models came with a flat rotating handle that require lubrication and occasional adjustments. The later model may require periodic adjustments as well. |
||
|
|
|||
|
|
|||
|
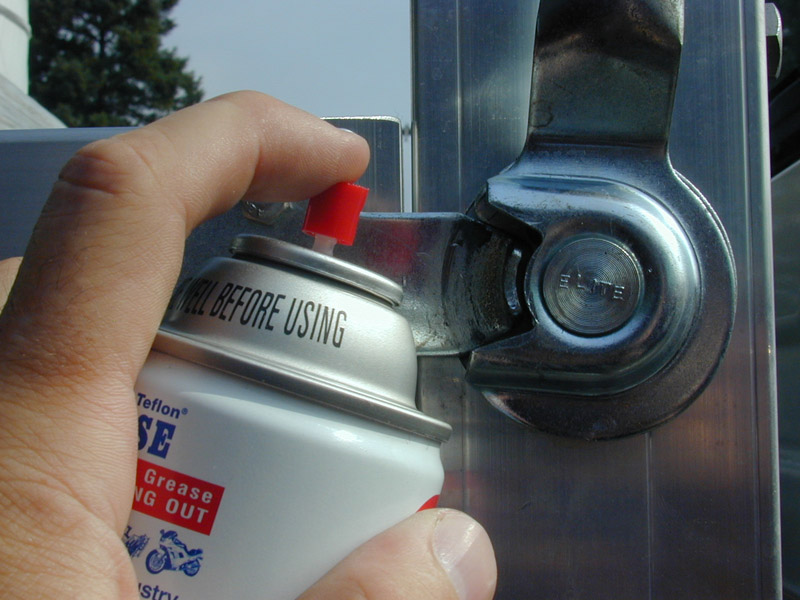
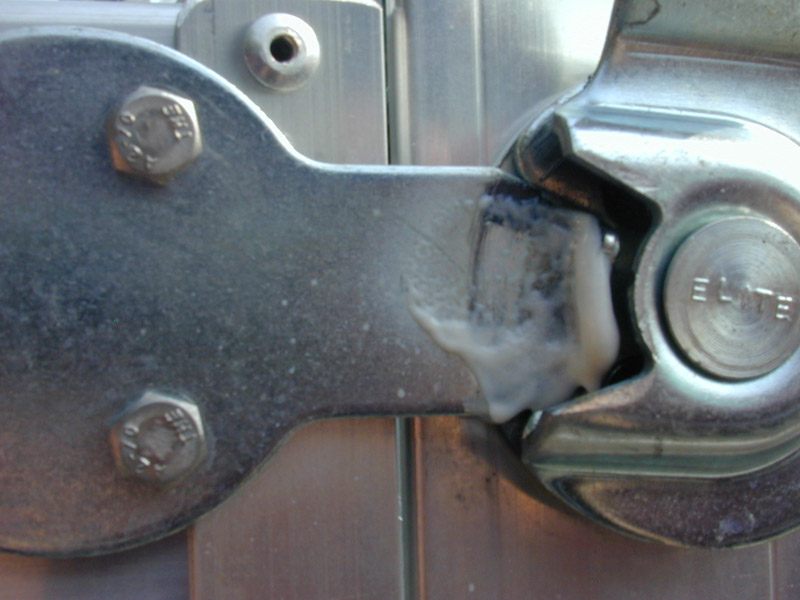
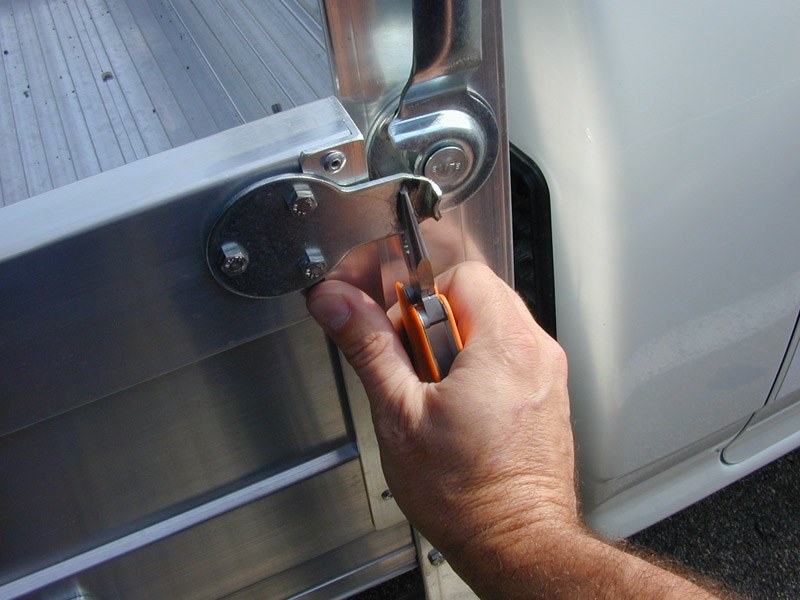
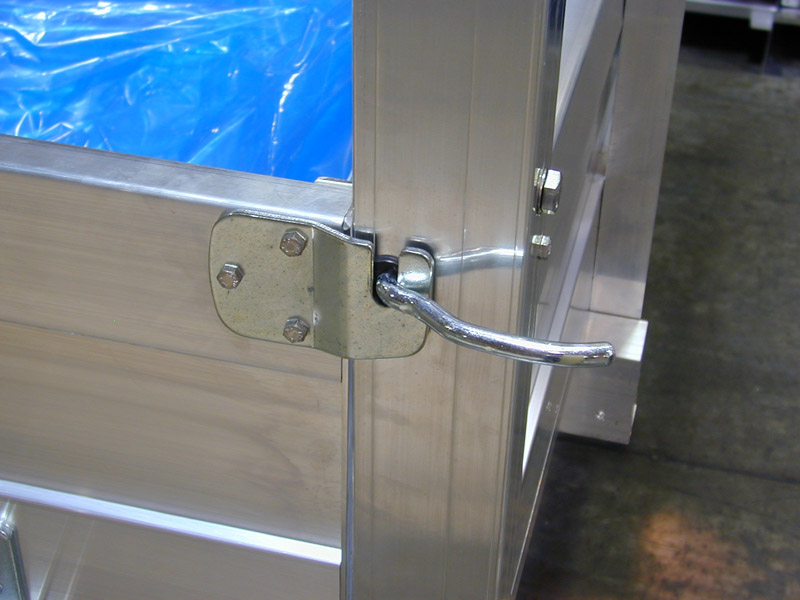
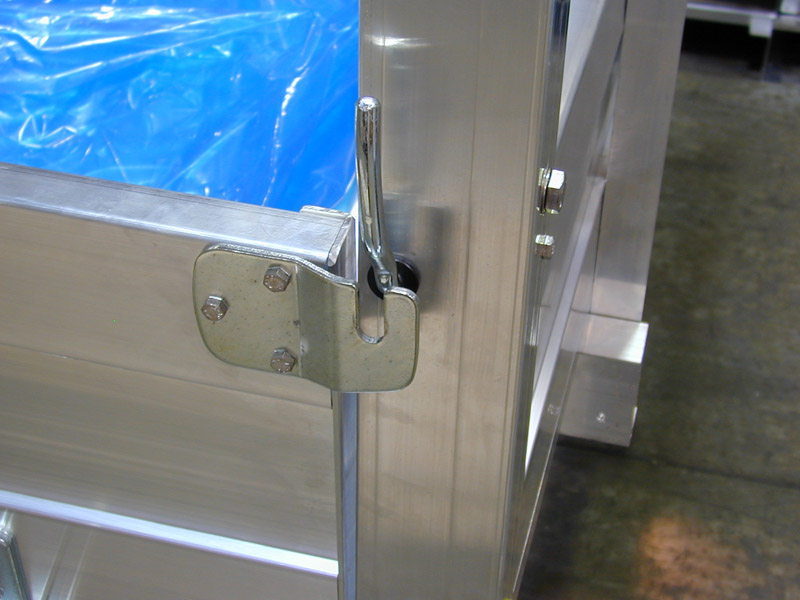
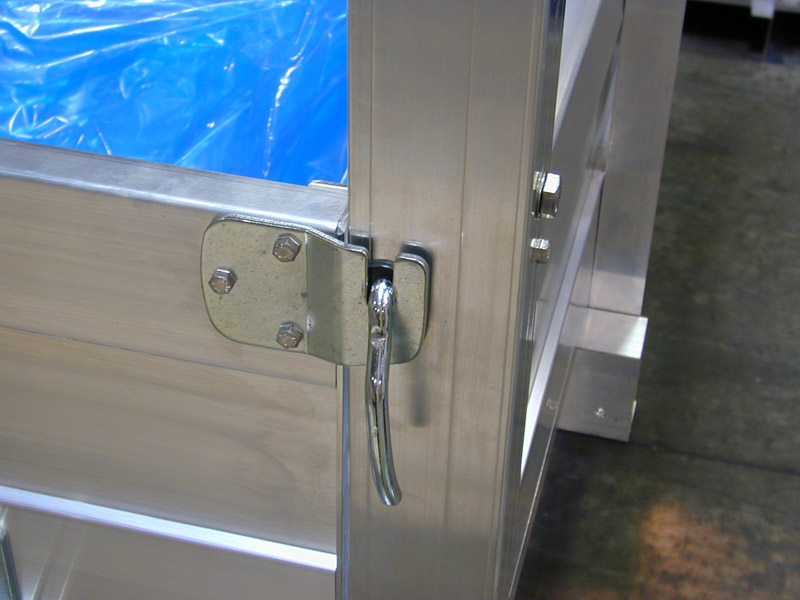
THE EARLIER MODEL: Basic Operation; This handle operates best by turning it away from the bed to open and close. In other words, rotate the handle toward the cab of the truck on the front handles and toward the back of the truck on the tailgate handles. Lubrication; Lubrication should be done as soon as you mount your Ute Bed® on your chassis. Give each of the tabs and sockets a quick shot of "white Lithium Grease. Work the handles around several times to spread the grease throughout the socket. With the handles in the down position, wipe away any access from the tabs. This procedure should be repeated any time the handles begin to squeak or get hard to turn. With regular maintenance, these handles should last several years. We have not had a failure in over 5 years of service on our trucks and we work them hard. Occasionally you may notice some rattle may develop in the handle/tab connection. When this happens, just grab a good size crescent wrench or similar tool and slightly twist the tab to adjust the angle of contact in the socket. This will eliminate the rattle. Be sure to lubricate after adjustment as shown above.
(notice; this tool is to small but illustrates the angle of adjustment.
|
||
|
|
|||
|
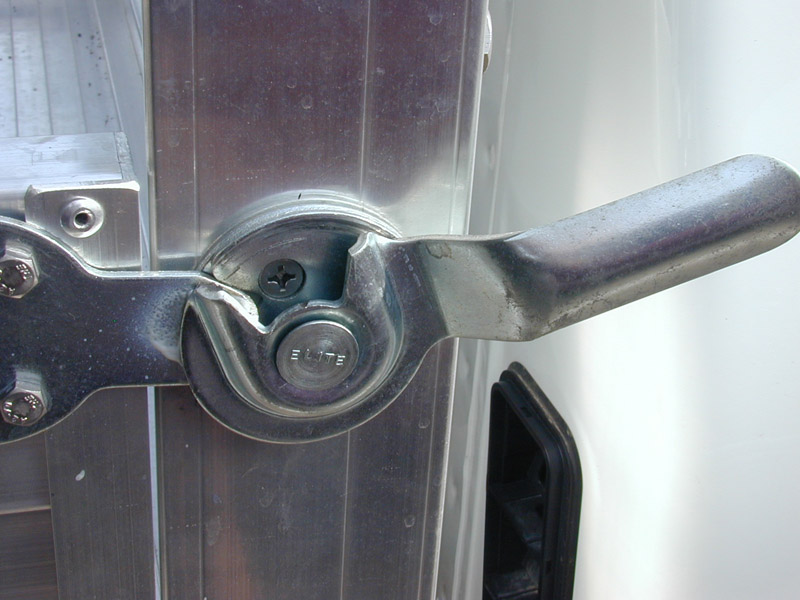
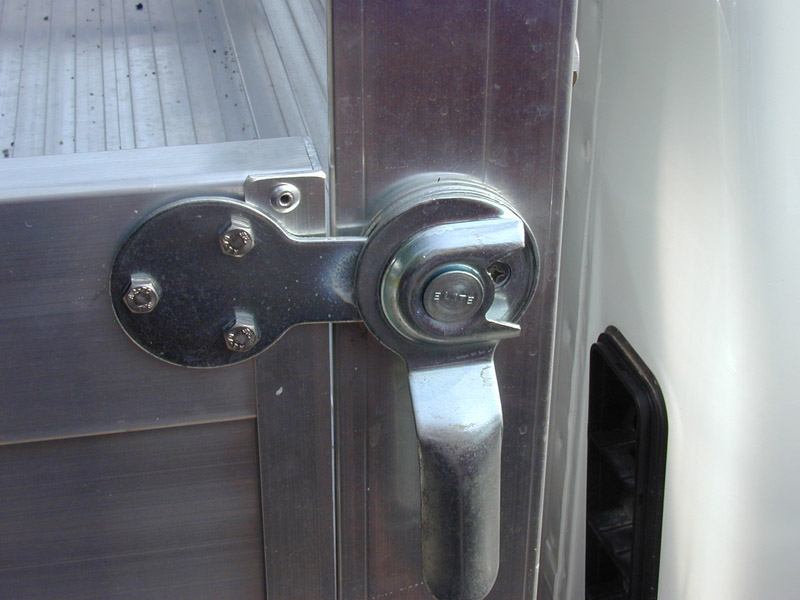
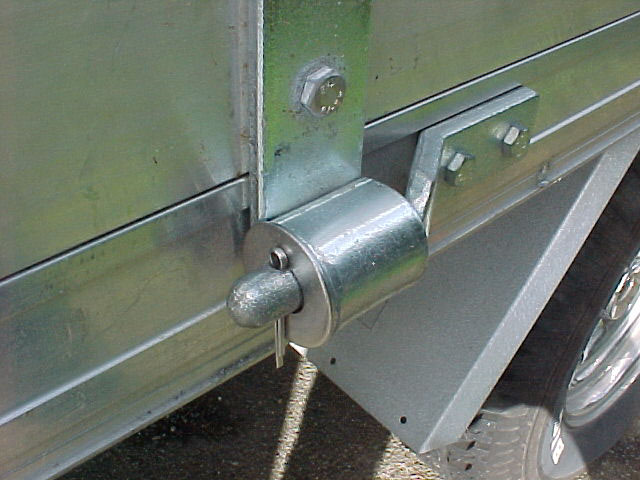
Second Generation Handles Basic Operation; Same basic operation as the earlier model. Turn the handles away from the bed for best results.
Rattle Maintenance; If you should have any rattle, you may adjust the nut on the inside of the pin to adjust. Careful not to adjust too tight since the lock washer provides the spring tension on the handle. (If you over tighten, the handle will not turn to lock position.) If the lock washer should loose tension or become flattened, replace with a new stainless lock washer. The same goes for the lock nut. If the nut will no longer hold tension, replace it with a stainless lock nut. (Note: these are metric components.)
|
||
|
|
|||
 |
Hinge safety stops; These keep the sides from dropping off when they are in the down position. Occasionally the sides may get bumped when in the down position and accidentally get knocked off the hinges. To stop this from happening just take the following steps. |
||
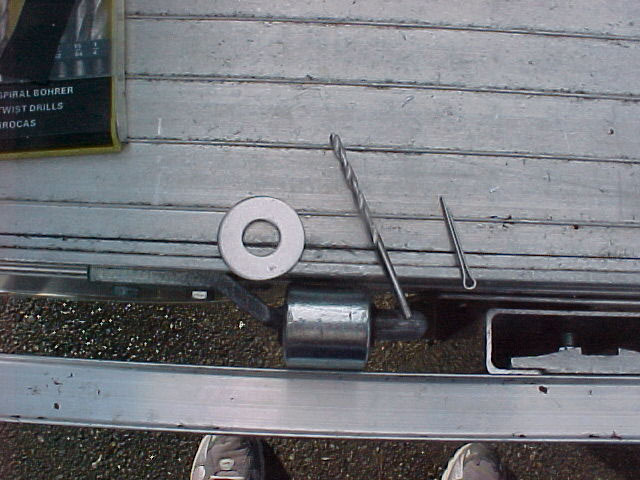 1/2" stainless flat washer 1/2" stainless flat washerA small cotter pin and drill bit the same size as the pin. (Size doesn't matter much) |
|||
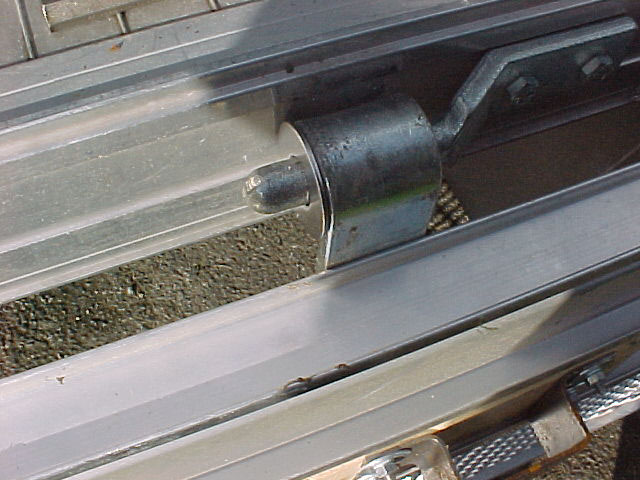 Slide the washer onto the hinge pin to mark the spacing. This should be done with the sides up and in position. Slide the washer onto the hinge pin to mark the spacing. This should be done with the sides up and in position. |
|||
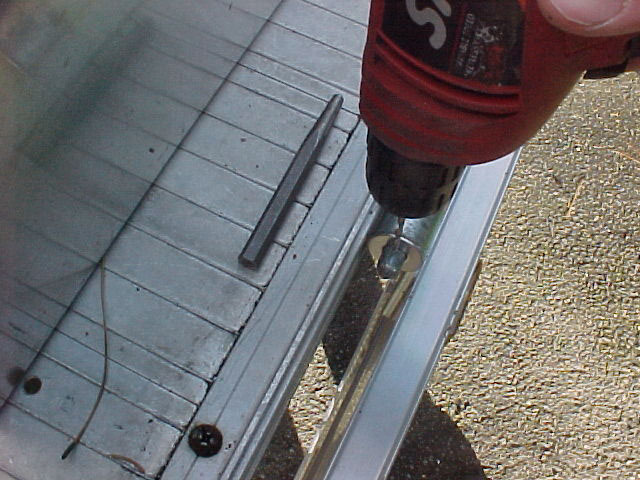 Drop the sides down, then drill a hole strait down through the hinge pin. Drop the sides down, then drill a hole strait down through the hinge pin.
You only need to do one pin on each side and one on the tail gate. |
|||
| Slide the washer onto the pin and drop the cotter pin into the hole and you have a complete safety catch. You may want to put a lanyard on the cotter pin so you don't loose it when the sides are off. When using as a flat bed just put the washer and pin back in after the sides are removed or put them in a zip lock for storage in the cab or tool box.
|
|||
|
|
Let us know if you have other concerns or maintenance problems. | ||
|
|
|||
|
|
|||